DYZT-8C computer drawing experimental device
Release time:2024-05-14 23:30viewed:times
Technical specifications and configuration det*ls are as follows:
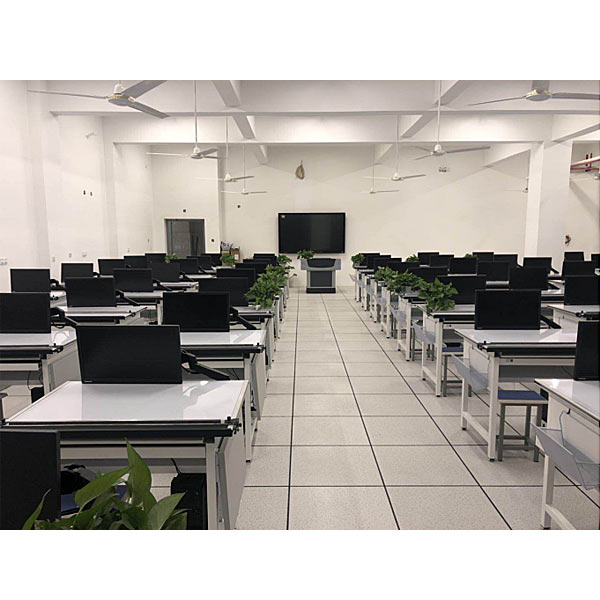
1. The drawing table consists of a drawing board, an adjustable bracket for a computer display and a table frame. The specifications are (82cm*98cm). The tabletop is 80cm high. When in use, there is a leveling screw at the foot of the table, which can be adjusted according to the ground. .
2. The drawing table consists of a standard configuration and several optional configurations. The standard configuration includes: drawing board, drawing table stand and other drawing utensils. Options include: right auxiliary desk, left file bucket, monitor rocker assembly, keyboard drawer, host rack, monitor storage box, etc.
3. Features and uses of the drawing board:
(1) Aluminum alloy guide r*ls and self-lubricating silent pulleys; flexible sliding and comfortable feel.
(2) Locking component: Located on the left side of the drawing board, there is a knob to control it. Turn it clockwise to loosen it, and vice versa to lock it.
(4) The drawing board surface is connected to the adjusting bracket, and the tilt angle can be adjusted as needed during use.
(7) There is a pen tray at the bottom of the drawing board for temporary placement of stationery.
4. Desk frame: The table frame is made of galvanized stretched iron pipe, which is welded, polished and spray-p*nted. It is strong, beautiful and durable. Height 800mm.
Comprehensive integrated tr*ning virtual simulation system for vocational skills: The model
in the software can be rotated 360°, enlarged, reduced, and translated, and is equipped with universal interactive buttons: return, home page, and help. There are prompts during all virtual simulation tasks, and the software automatically checks the box after completing a task. There are experimental tasks 1 and basic three-dimensional above the tool library. (When the model is rotated, the XYZ space coordinate icon automatically follows the rotation.) A. Plane and three-dimensional: The experimental steps are divided into experimental tasks (text prompt tasks) - building models (drag and drop in the tool library The model is put into the three-projection plane system, and the projection is automatically displayed. There will be a prompt when the selection is wrong) - Change the posture (change by clicking the up, down, left and right arrows) - Select the projection (enter the answer interface, select the three-dimensional projection map completed at this time among the 6 items) ) B. Cutting three-dimensional: The experimental steps are divided into experimental tasks (text prompt tasks) - building the model (drag the model in the tool library into the three-projection plane system, and automatically display the projection) - marking the projection situation (as a three-dimensional projection icon Determine, select the corresponding label symbol in the 14 blank columns) C. Intersecting three-dimensional: The experimental steps are divided into experimental tasks (text prompt tasks) - digging holes (select any digging model, at this time, you will be able to dig holes in the XYZ space coordinates Select any surface, the model will be switched at the same time, and a coordinate slider will appear. According to the displacement of the slider, the model will appear with a corresponding section plane) - aperture change (select 1-4 apertures) - rear through hole - select projection (enter the answer interface) , select the three-dimensional projection image completed at this time among the 8 items) 2. Assembly A, assembly assembly: The experimental steps are divided into experimental tasks (text prompt tasks)-select the assembly model (8 models are optional)-assembly assembly Body (select the tool library model according to the selected model and drag and drop to combine) - Sectioning the combined body (you can select any surface in the XYZ space coordinates, the model is switched at the same time, and a coordinate slider appears. According to the displacement of the slider, the model appears Corresponding section plane)—Select the side projection (enter the answer interface and select the correct side projection among the 3 items based on the known front and horizontal projections) B. Combination picture reading: The experimental steps are divided into experimental tasks (text Prompt task)—Select the combination section view (8 types of pictures are av*lable)—Build the combination model (select the tool library model according to the selected model and drag and drop the combination)—Section the combination (you can select any surface in the XYZ space coordinates, The model is switched at the same time, and a coordinate slider appears. According to the displacement of the slider, the model appears with a corresponding section plane) - Select the left view (enter the answer interface, select the correct left view among the 3 items based on the known m*n view and top view) View) 3. Assembly A, mechanical transmission mechanism : 8 types of mechanisms (worm gear, rack and pinion, screw transmission, out-of-plane meshing gear, in-plane meshing gear, space spur bevel gear, belt drive , ch*n drive) optional , after selecting, the model will appear in the toolbar. Drag and drop the model freely to combine it. After the combination is completed, the model can be operated. Each mechanism comes with an introduction, video demonstration, and drawing method. There are 6 questions in the answering interface, and each question has 4 options. B. Gear oil pump: Select the tool library model according to the prompts to gradually build the model. You can choose the introduction, drawing method, and animation principle (the internal movement principle of the model is visible) to learn. There are 2 questions in the answering interface, each with 4 options. C. Mechanical mechanism construction: 2 types of mechanisms (2-DOF robotic arm, 3-DOF robotic arm). Select the tool library model according to the prompts to gradually build the model. After the combination is completed, the model can be operated. Each mechanism comes with an introduction and video demonstration. . There are 2 questions in the question-answering interface (which can only be entered after both models have been built), each with 4 options. Optional: (1) The right auxiliary table (optional accessory) can be unfolded and folded as needed. After unfolding, tea cups, stationery, etc. can be placed. (2) The file bucket (optional accessory) on the right side is A4-sized and can be used to place documents, books, etc. (3) Put the briefcase in the storage bucket. School bags and other items. (4) Other link interfaces can connect accessories of computer graphics systems. 5. Adjustable bracket for computer display (1) The full-dimensional *r-elastic freely retractable monitor bracket can install an LCD monitor ≥23.8-inch LED monitor, and can adjust the height, front and back, and viewing angle as needed. (2) The computer host bracket can be installed on the table stand, and the mounting bracket can be adjusted according to the size of the host computer. (3) The keyboard stand is hidden under the drawing board and fixed with silent ball guides. It can be pulled out when needed. (4) The monitor storage box is located behind the desk frame, and the monitor can be stored in it.


 Wechat scan code follow us
